How to Measure Your Blood Pressure the Right Way
A simple, step-by-step guide to getting numbers you can actually trust — so you and your doctor are making decisions based on the truth, not a fluke reading.
Where your number lands depends on how well you measure it.
Why does technique even matter?
In our last post, we talked about why sudden cardiac events and heart failure are showing up too often, too early, in our community here in Germany. Today we’re starting at the very beginning: the blood pressure reading itself. Because a number taken the wrong way can send you down the wrong path entirely.
Think of it like stepping on a kitchen scale with your shoes, coat, and handbag still on. The scale isn’t lying, but it isn’t telling you the truth about your actual weight either. Blood pressure works the same way. Rush in from the market, sit with your legs crossed, cuff over a thick sleeve, and your reading can jump 10, 15, even 20 points higher than your real number. Do it the right way, and you finally see what’s actually going on inside your body.
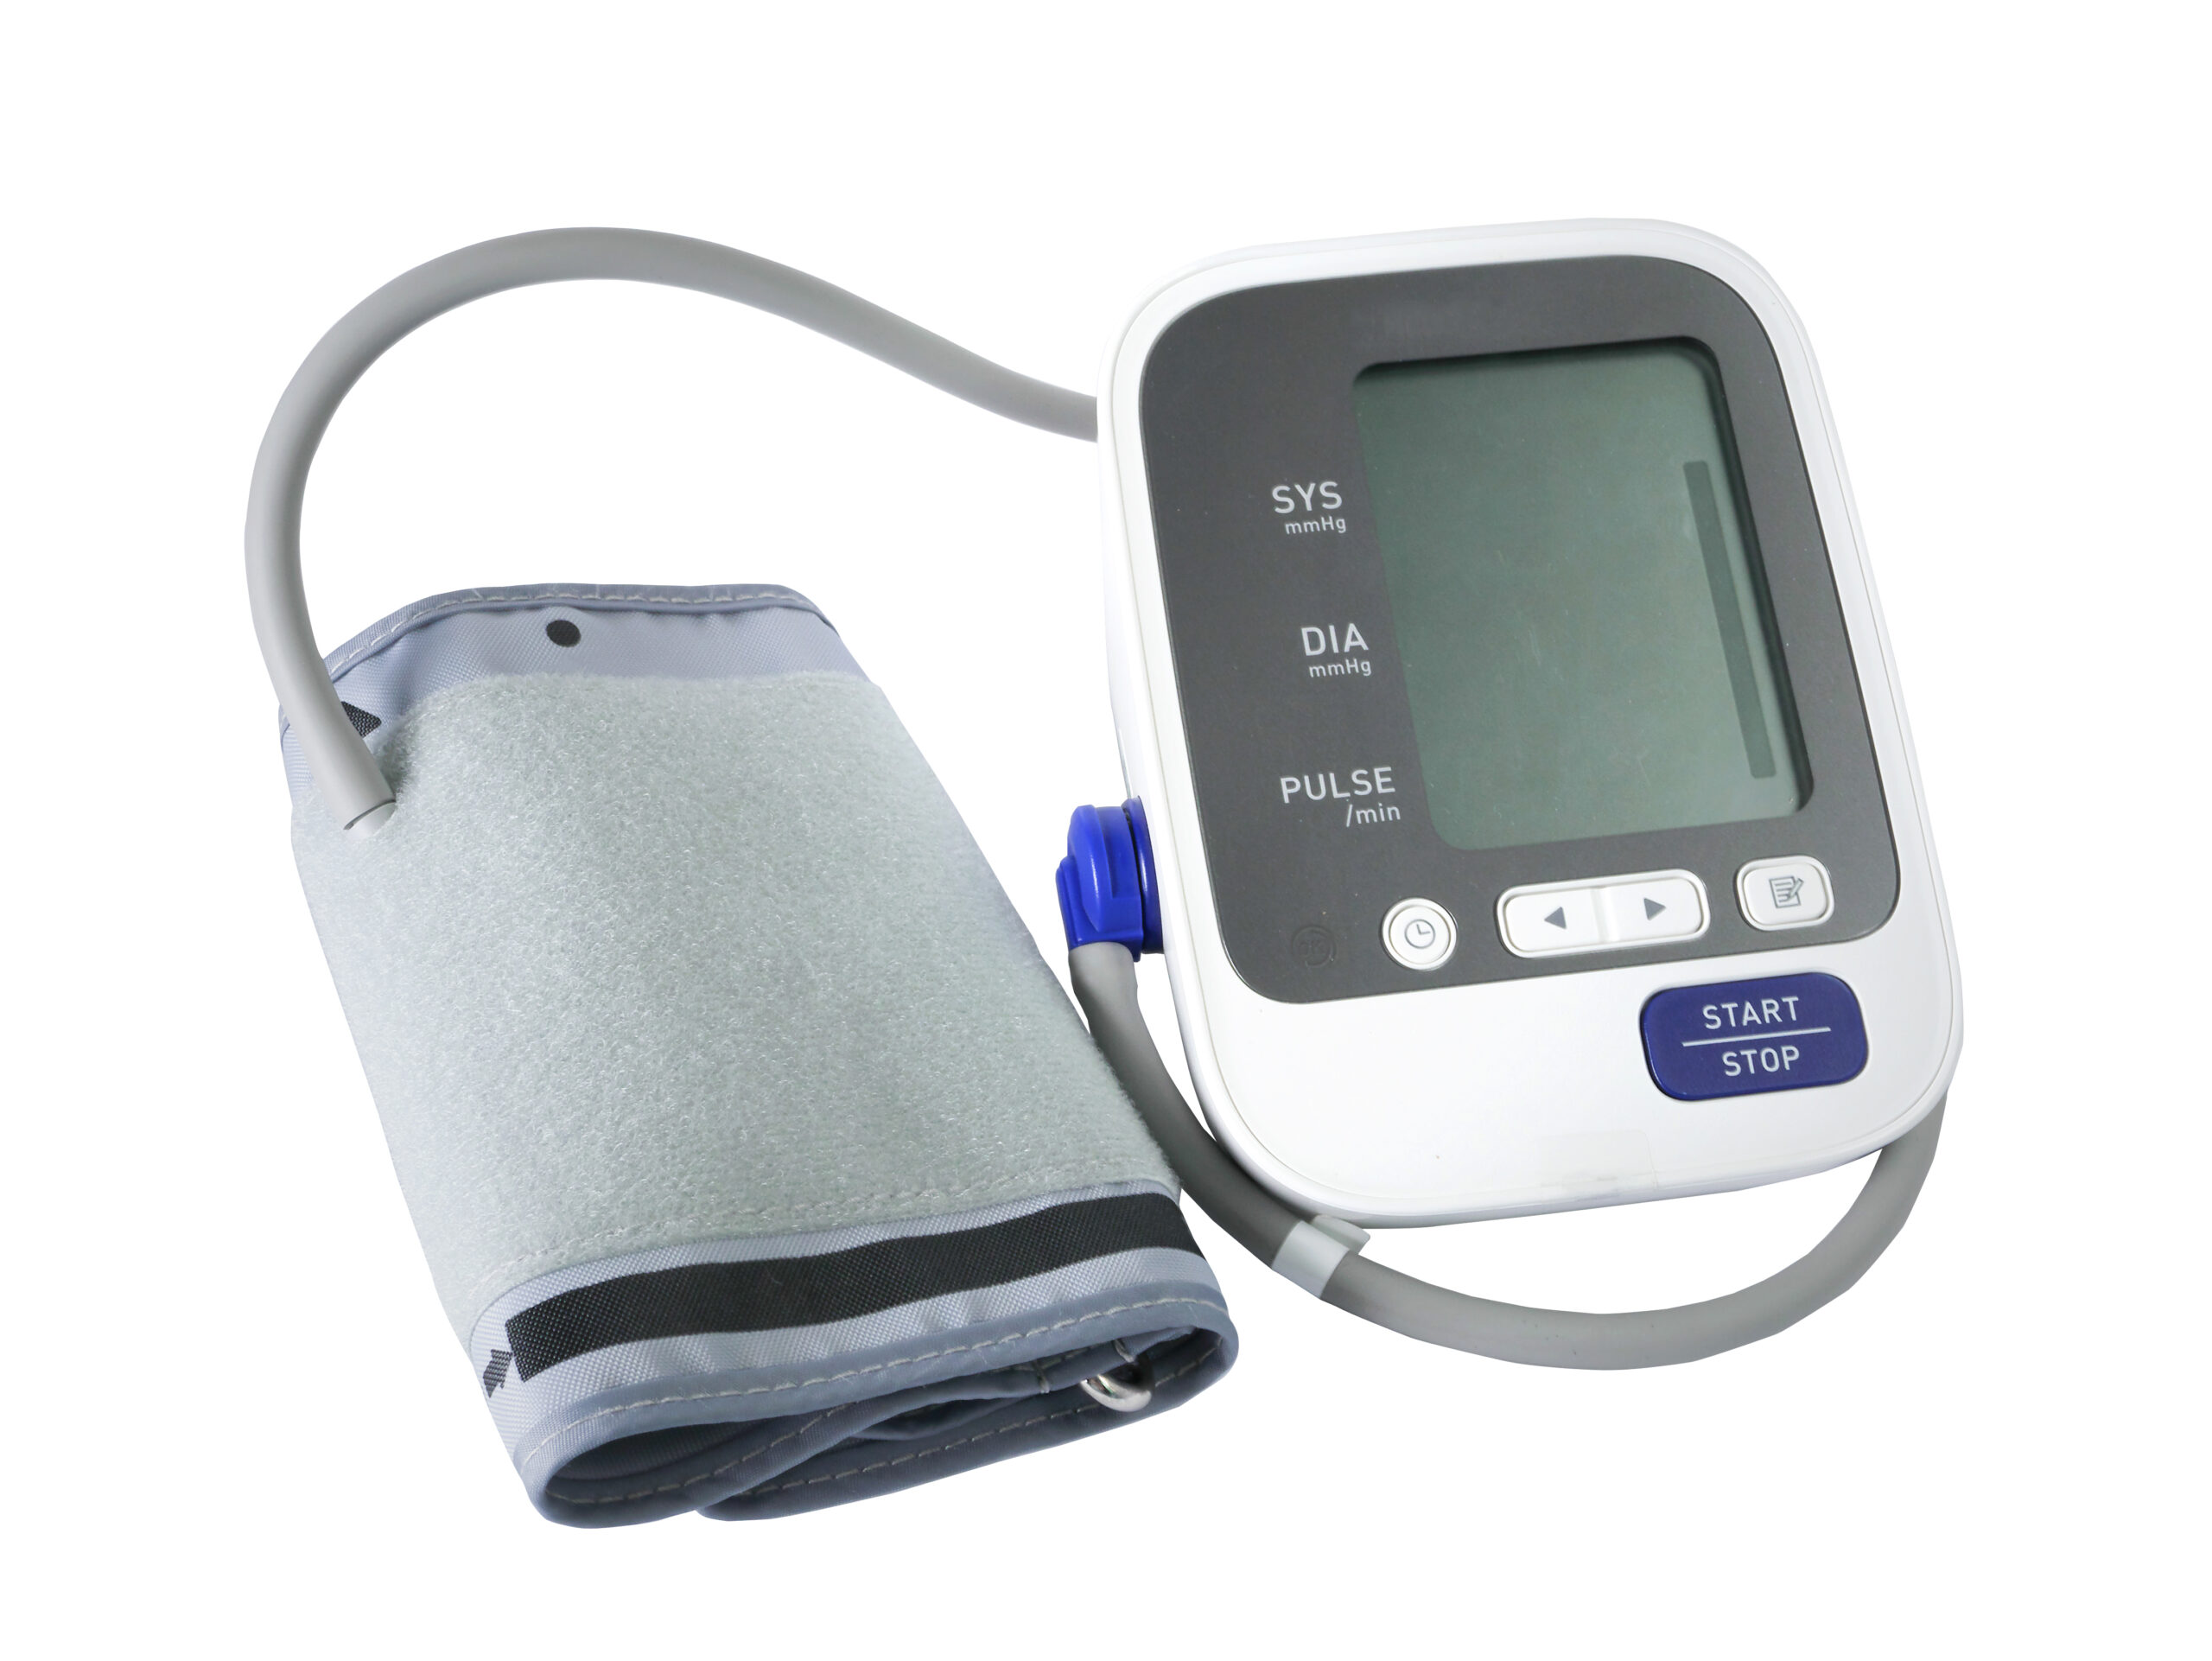
Step 1: Start with the right machine.
Upper-arm, not wrist.
Automatic upper-arm monitors are far more reliable than wrist devices. Wrist monitors are extremely sensitive to hand position, held even slightly below or above heart level, the reading changes. If you already own a wrist monitor, it’s not useless, but an upper-arm cuff should be your first choice for anything you intend to track or show your doctor.
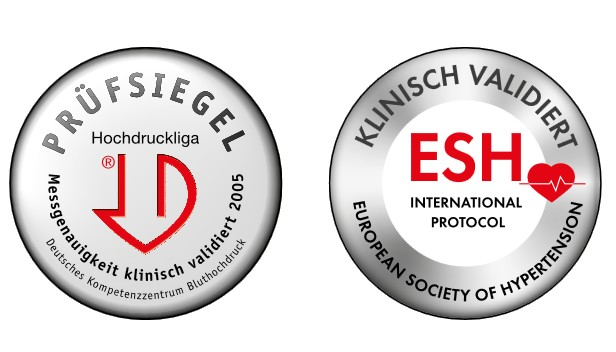
Look for the actual stamp of approval.
Here is something most people don’t know: in Germany, every blood pressure monitor sold legally carries a CE mark (check in your country to see which mark your machine carry), but that mark only confirms the device is safe as a medical product. It does not confirm that its readings are accurate. You can find the CE certification for your blood pressure machine in two main places: printed directly on the device rating label or listed in the EU Declaration of Conformity within the user manual.
The real assurance comes from a separate validation seal. Look for the Deutsche Hochdruckliga (German Hypertension League) Prüfsiegel printed on the box or in the manual, or an ESH (European Society of Hypertension) validation label. These seals mean the device was tested against real people, comparing its readings to a properly trained examiner using a manual cuff and stethoscope, and it passed. Many pharmacies (Apotheken) can tell you which models on their shelf carry this seal. It’s worth asking before you buy.
Get the cuff size right.
A cuff that’s too small for your arm will squeeze harder than it should and give you a falsely high number. Too large, and it under-reads. It’s the blood pressure equivalent of wearing a shoe two sizes off. Uncomfortable, and it throws off everything built on top of it. Wrap a tape measure around the thickest part of your upper arm; most monitors come with a standard cuff (22–32cm) and an option for a larger one (up to 42cm) if needed.
Step 2: Prepare your body before you measure.
Sit and rest quietly for 5 minutes first.
No phone, no conversation, no rushing around the kitchen. Just sit.
Empty your bladder.
A full bladder can raise your reading by several points.
Skip coffee, cigarettes, and exercise for 30 minutes before.
All three temporarily raise blood pressure.
Sit correctly.
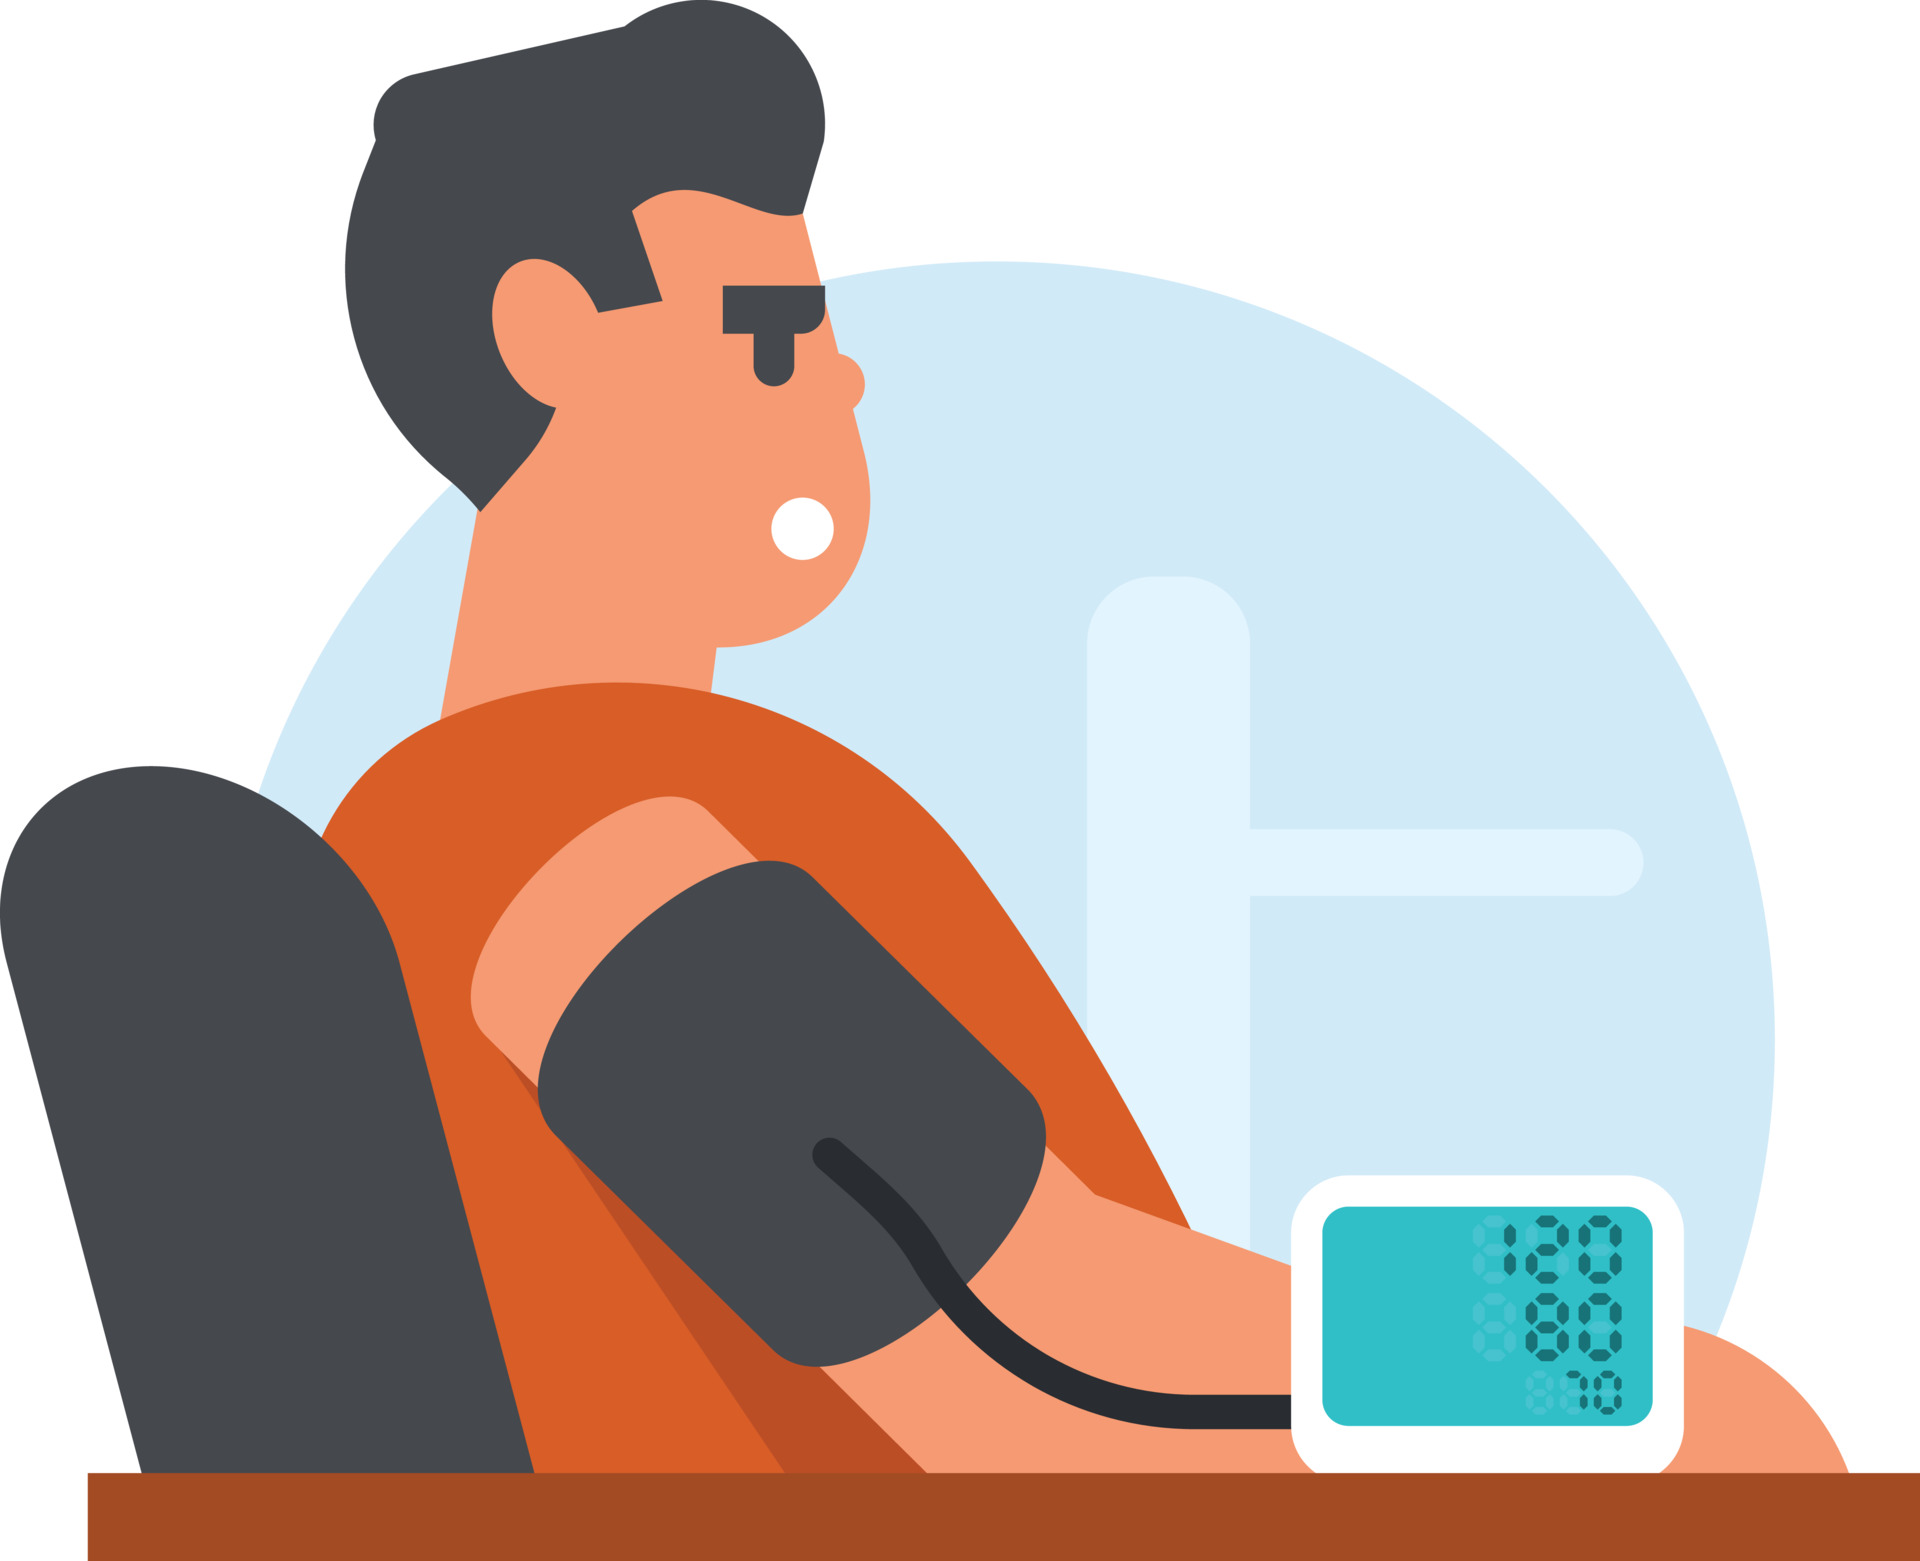 Back supported by the chair, both feet flat on the floor (not crossed), arm resting on a table at roughly heart height.
Stay quiet during the reading.
Talking, even answering “I’m fine, just measuring” can raise the number while the cuff is inflated. Just give yourself some minutes, the measurement only takes less than 2 minutes.
Picture this illustration: Sister Adaeze gets home from the market, drops her bags, sits on the edge of the sofa with her legs crossed, cuff pulled over her blouse sleeve, and checks her pressure while still texting her daughter. Her monitor reads 162/98. Worried, she checks again ten minutes later, this time seated properly, feet flat, arm bare and supported, phone down. The reading: 138/86. Same woman, same machine, same morning, a 24-point difference, just from how she measured.
Step 3: Position the cuff correctly.
- Bare arm, or only a thin sleeve underneath. Never over a thick jumper.
- Cuff edge sits about one to two finger-widths above the bend of your elbow.
- Snug enough that two fingers slide under with gentle resistance. Not loose, not painfully tight.
- Palm faces upward, arm relaxed and fully supported on the table.
Step 4: Take the reading twice.
Take two readings, about one minute apart, and write down both. If they’re close, that’s your number for the day. If they’re far apart, take a third and use the average of the last two. Try to measure at the same times each day. Many doctors recommend it once in the morning (before breakfast and any medication) and once in the evening, before dinner. It’s also worth checking both arms at least once. A noticeable, consistent difference between your left and right arm readings is something to mention to your doctor.
Step 5: Understand what the numbers actually mean.
Two numbers, two different moments in your heartbeat. Think of your blood vessels as a garden tube. Systolic (the top number) is the pressure in the tube at the exact moment you squeeze the tap fully open, when your heart contracts and pushes blood out. Diastolic (the bottom number) is the pressure that’s still sitting in the tube in the brief moment between squeezes, while your heart rests and refills.
| Category | Systolic (mmHg) | Diastolic (mmHg) |
|---|---|---|
| Optimal | Below 120 | Below 80 |
| Normal | 120–129 | 80–84 |
| High–normal | 130–139 | 85–89 |
| Hypertension (Grade 1) | 140–159 | 90–99 |
| Hypertension (Grade 2) | 160–179 | 100–109 |
| Hypertensive crisis | 180 or above | 110 or above |
One high reading doesn’t mean you have hypertension, but a pattern of readings in the same range over several days is worth taking to your doctor.
Keep a simple log.
A notebook by your machine, or a notes app on your phone, is enough. For each reading, jot down:
- Date and time.
- Both numbers (systolic/diastolic) and pulse, if your monitor shows it.
- Which arm.
- Anything unusual; a headache, stress, poor sleep the night before.
This log is one of the most useful things you can hand your doctor. It tells a story your one rushed in-office reading never can.
Seek help immediately if…Your reading is 180/120 or higher, especially alongside chest pain, severe headache, blurred vision, shortness of breath, or confusion. Don’t wait to re-measure several times — this combination needs emergency care right away. Rest for five minutes and re-check once; if it’s still that high with any of those symptoms, call emergency services.
Want to practice this together?
Join our free weekly heart health teaching session on Zoom, where we walk through real readings, real machines, and real questions from our community together. Join us on facebook.
❤️ Heart Health Action Step for This Week
This week, I challenge you to know your numbers.
Measure your blood pressure at least twice a day for seven consecutive days:
- Once in the morning before breakfast and before taking medication (if you use any).
- Once in the evening before dinner or before bedtime.
Record each reading in a notebook or on your phone, including:
- Date
- Time
- Blood pressure reading
- Pulse rate
At the end of the week, review your results and ask yourself:
- Do I know what my usual blood pressure is?
- Are my readings consistently normal or elevated?
- Do I need to discuss my results with my doctor?
If you do not own a blood pressure monitor, make it your goal this week to have your blood pressure checked at a pharmacy, clinic, or healthcare provider.
Remember: You cannot manage what you do not measure. Knowing your blood pressure today may help prevent heart disease, stroke, kidney failure, or other serious complications tomorrow.
Your heart is working for you every second of every day. Take a few minutes this week to take care of it.
 Written by Thelma Fischer
Heart Failure Nursing Specialist (DGK) · 21 years of clinical nursing experience. Heart Catheter Laboratory Nurse · Patient & Family Educator · Nurse Mentor
Heart Health Education for Our Community in Germany
This article is for educational purposes and does not replace advice from your doctor.
MEDICAL DISCLAIMER: This blog post is written for educational purposes only. It does not constitute medical advice, diagnosis, or treatment. Individual medical situations vary. Always consult a qualified healthcare professional for personal health concerns. In a medical emergency, call 112.

Hi, this is a comment.
To get started with moderating, editing, and deleting comments, please visit the Comments screen in the dashboard.
Commenter avatars come from Gravatar.